Amber Evans
~ Effects Artist ~
This website is old, please visit amberevansvsfx.com for my new site.
Maya Pattern Animation
For this project, I was given the task of creating an original shader in Cutter and importing it into Maya in the Hypershade node and applying it to an animated object.
For more information about Cutter, visit Fundza.com for more details and for more information about how I created my personal shader, visit the ST Coloration listed under my RenderMan Portfolio page.
Final Animation
Process
I began this project straight from the ST Coloration project. I took the shader I created in Cutter and applied it to an object in Maya. In order to get the shader into Maya I had to attach my shader to a RMSGPSurface from the RenderMan Procedural Shaders. By transferring my shader into the RMSGPSurface surface color, my shader will appear as any shader would in Maya.
 My Personal ShaderThis is my personal shader that I created in Cutter and applied to a plane in Maya. |  My Shader on objectsThis is my personal shader on some procedural objects in Maya. |
|---|
After adding my shader to the objects in Maya, I then had to think about what I would do for my animation and how I would animate my shader. I ended up going with a simple sphere rolling around in a circle. With that decided, I had to decide how I wanted to animate my shader on that object. When Professor Kesson showed my class how to add external shaders to our personal shaders, I decided to add that to my animation.
I first began to add noise to my shader. In order to do so, I had to add a couple of extra nodes to my shader.
Once I selected noise, in the graph network in the Hypershade, the noise is connected to a luminance node. The color output of the noise node must be connected to the input value of the luninance node. Then the output value of the luminance node must be connected to the input value of the remap value node, and, finally, the output value of the remap value node must be connected to the input value of any of my parameters from my personal shader. I ended up putting the noise value into the radius value of the circles in my shader.
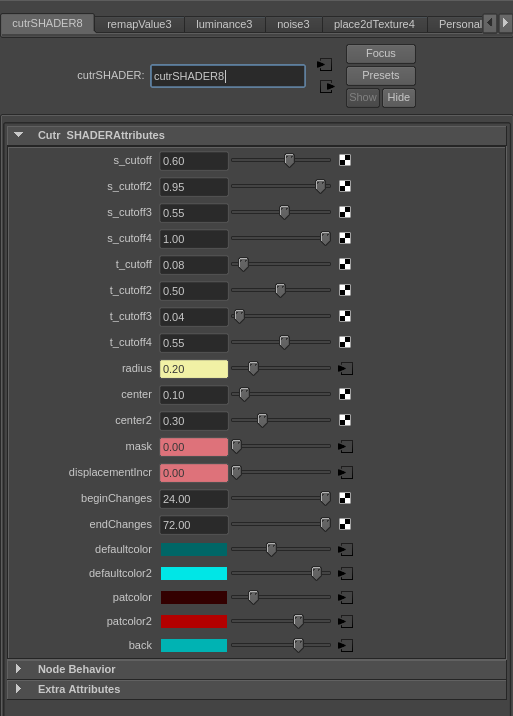
In order to get the noise, I had to add a couple of inputs and expressions in Cutter.
In the input section, I added:
float beginChanges; /* [default 24] */
float endChanges; /* [default 72] */
And in the if statement, I added:
float frame=0;
option("Frame", frame);
float _radius=radius;
if(frame < beginChanges)
_radius=0.3;
if(frame > endChanges)
_radius=0.3;
After adding noise, I started to test the other parameters I added: changing the colors, displacement, and opacity. Note: the noise and artifacts and from the low quality renders.
I continued to test my parameters while also figuring out the lighting and seeing what shader would look best on the ground.

Looking back to figuring out shader controls in Cutter, I had to consult with Professor Kesson on how to get float parameters to control opacity and displacement. At first, we added an extra input to give me masking, which is essentially giving transparency to a color channel, in my case, the red channel. By doing this, my shader is given a "cookie cutter" effect.

Then we added another if statement that would also give me displacment. The problem was that I wanted to keyframe my shader to first be my original shader, then after changing colors, add opacity, then displacement. The way we first put in the expression made the opacity and displacement happen at the same time and there wasn't any way to keyframe it to come and go. When I added the fresult (explained further down) to the RMSGPSurface shader, the displacement and opacity was there from the beginning.

In the end, I had to add a float parameter that would switch from 1 to 0, 1 being no opacity or displacement and 0 being turned on. In the statement below, masking is used as opacity.
In Cutter, it looked like this:
Under the input section, I added:
float mask; /* [default 1] */
float displacementIncr; /* [default 1] */
output varying float fresult;
output varying float dresult;
And under the if statement, I added:
fresult=0;
dresult=0;
fresult=result[2] + mask;
if(fresult > 1)
fresult=1;
dresult=result[2] + displacementIncr;
if(dresult > 1)
dresult=1;
After this was done, I had to make sure that once I connect the fresult, the result name given to the opacity/masking, and the dresult, the result name given to the displacement, I also changed certian aspects in the Attribute Editor of the Surface Shader in Maya.
For the masking, I had to check on the Mask Reflections box and turn the Computes Opacity to "Compute (Medium)" under the RMSGPSurface Attributes of the shader.
For the displacement, I had to change Displacement to "Displace" and give the Displacement Scale a value, in my case it varies from 0 to 0.3.

Conclusion
For my final animation, I noticed that I have some artifacts due to the displacement of my shader. I tried to get rid of the most obvious ones, by rendering it out in 1280 by 720 and shrinking it to 720 by 405. And for the most part, it helped, but I still got some very big ones at the very end of my animation.
In the end, I really enjoyed working on this project. When I was adding the different inputs to my shader, I thought they looked really cool, and that inspired me to figure out how to do the displacement and opacity for my shader. I am happy with my outcome and believe that I learned a lot from this course.